
Rose water is one of those ingredients that sounds fancy until you realize it’s just two things: roses and water. That’s it. No special equipment, no lab, no 47-step process. You probably already have everything you need in your kitchen right now.
People have been making it since at least the 10th century, when Persian chemists first refined the steam distillation process. It spread through the Middle East, into India, across Europe, and now it’s quietly having a moment again. And honestly? It deserves it.
Key Takeaways
- Homemade rose water takes about 30 minutes and only needs two ingredients
- Always use pesticide-free, fragrance-heavy roses for the best result
- Store it in a glass bottle in the fridge and use it within 4 weeks
- You can use the same batch for skincare, haircare, and cooking (see below)
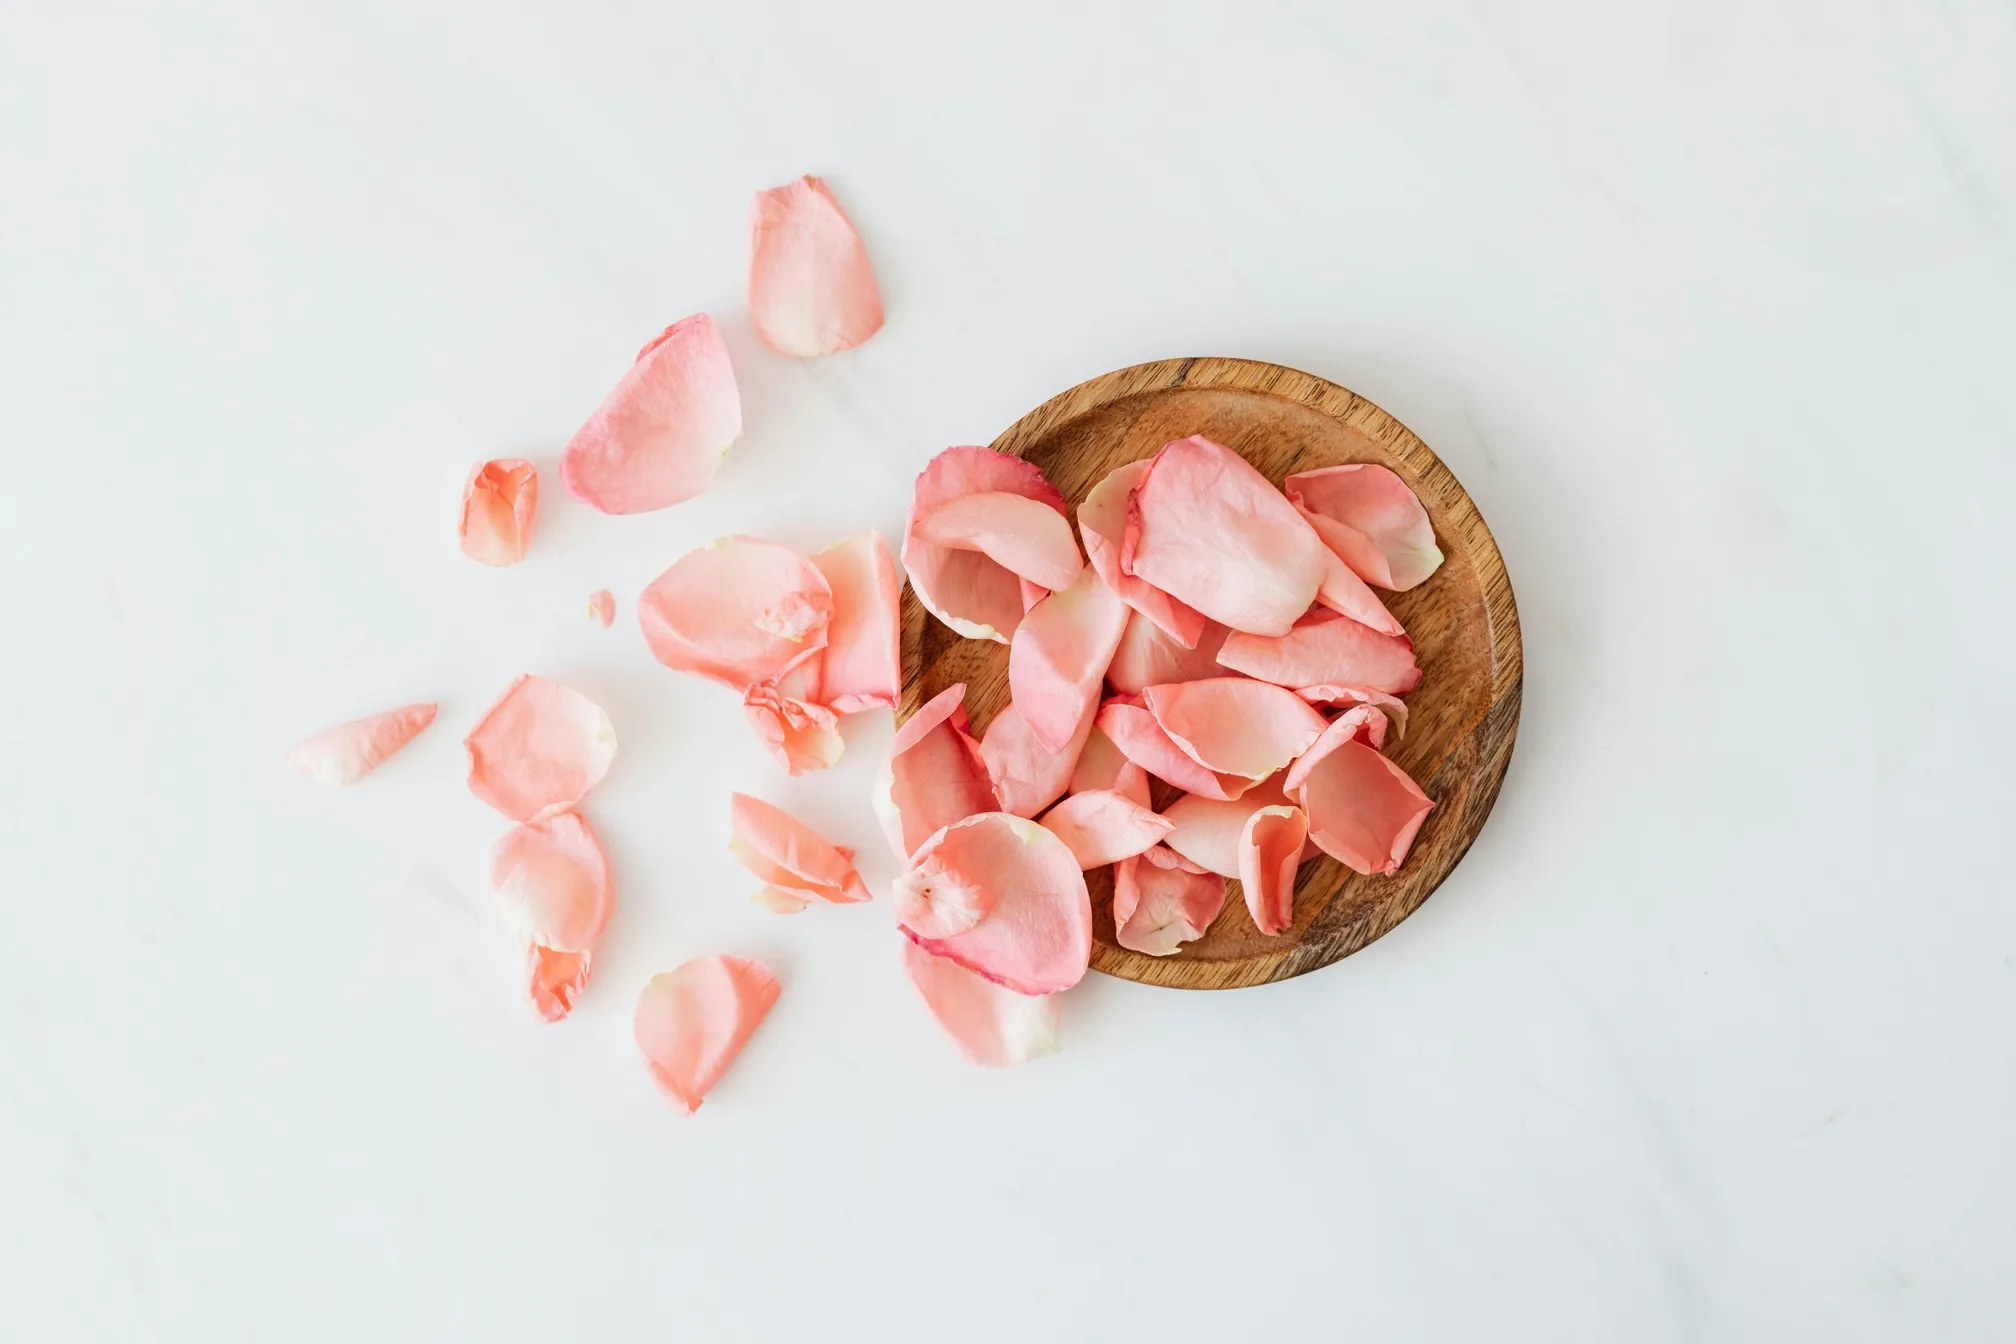
What You’ll Actually Need
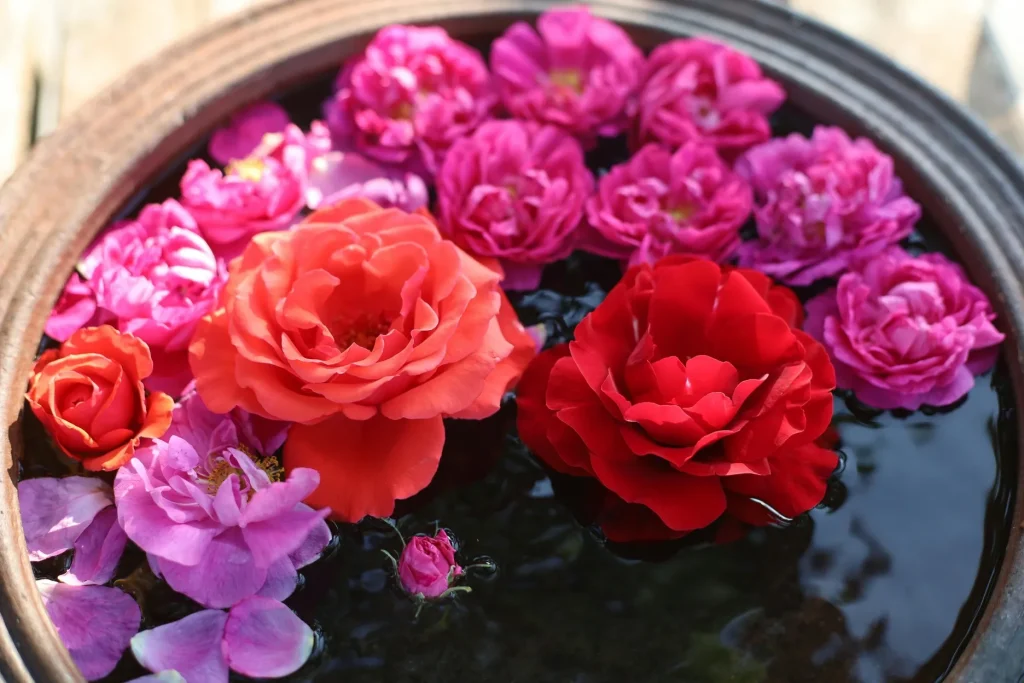
The roses matter more than anything else here. Commercially sold roses from a florist are almost always treated with pesticides, which is fine for a vase but not for your face or your baklava. What you want are organically grown roses or ones you’ve grown yourself. Damask roses (Rosa damascena) are the gold standard because they’re incredibly fragrant, but any unsprayed, strongly scented variety will do. A pale, barely-there-smelling rose will give you pale, barely-there-smelling water.
Here’s your shopping list:
- 1 cup of fresh, pesticide-free rose petals (loosely packed)
- 2 cups distilled water (tap water works too, but distilled gives you a cleaner end product)
- A medium saucepan with a lid
- A fine mesh strainer or cheesecloth
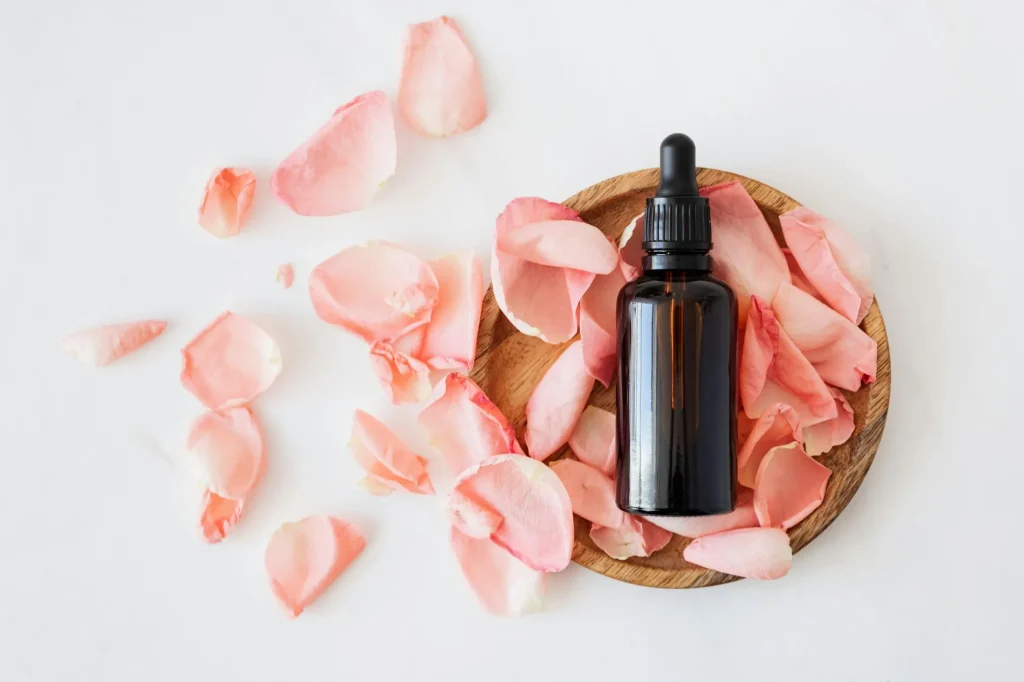
- A clean glass jar or bottle for storage
That’s genuinely the whole list.
The Stovetop Method (No Equipment Needed)
This is the easiest method, and it produces a lovely, lightly scented rose water. It won’t be as concentrated as commercially distilled versions, but for home use, it’s perfect.
Step 1: Rinse your petals gently under cool water to remove any dust or insects.
Step 2: Add the petals to your saucepan and pour the distilled water over them. The water should just cover the petals.
Step 3: Put the lid on and simmer on the lowest heat setting your stove allows. You’re not boiling this. Low and slow is the goal.
Step 4: Check every few minutes. When the petals have lost most of their color and faded to a pale, almost white shade, usually around 20-25 minutes, you’re done.
Step 5: Let it cool completely, then strain out the petals and pour the liquid into your glass bottle.
The resulting rose water will have a soft, genuine floral scent, nothing like the artificial rose fragrance in cheap beauty products. It might be faintly pink or golden depending on your petals.
Why Low Heat Is Non-Negotiable
It’s tempting to crank the heat to speed things up. Don’t. The delicate aromatic compounds in roses are volatile, meaning they evaporate quickly at high temperatures. Boiling your petals will drive off the very thing you’re trying to capture, and you’ll end up with expensive, pleasant-smelling steam and watery disappointment in the pot. Keep it at a gentle simmer, just barely bubbling.
The Ice Method (More Concentrated Rose Water)
If you want a stronger result and don’t mind a slightly more involved process, try this. Place a heatproof bowl in the center of a large pot. Surround the bowl with your petals and water. Place the lid on the pot upside down and fill it with ice. As steam rises from the petals and hits the cold lid, it condenses and drips into the bowl in the center. This mimics the distillation process and gives you a more concentrated, cleaner rose water.
It takes about 30-40 minutes and feels a bit like a science experiment. In the best way.
How to Use Your Homemade Rose Water
This is where it gets fun, because one batch genuinely does everything.
For your skin, it works as a gentle toner. Pat it on with a cotton pad after cleansing or spritz it directly onto your face. Research suggests rose water has anti-inflammatory properties that can help soothe redness and irritation, making it particularly good if your skin runs sensitive or reactive.
For your hair, spritz it onto your scalp and lengths before styling or as a mid-week refresh. Rose water’s naturally slightly acidic pH, sitting around 4.5-5.5, is very close to hair’s natural acid mantle, which helps smooth the cuticle and fight frizz. More on that in the rose water for hair guide.
In cooking, a small splash can transform desserts, drinks, and baked goods with a floral note that’s subtle when used well and overwhelming when overdone. Start with less than you think you need. The rose water in cooking guide covers this in full.
And if you want to get the most out of your batch, read up on how to preserve homemade rose water so it lasts as long as possible.
One Thing Worth Knowing Before You Start
If you’re making rose water specifically to use on your skin, don’t add anything to it. No vitamin E oil, no alcohol, no essential oils. Plain rose water is perfectly effective on its own, and added ingredients can cause reactions, particularly if your skin is already sensitive. Keep it simple, especially the first time.
According to National Geographic, most research on rose water’s benefits falls in the complementary and alternative medicine space, with results varying depending on concentration and method. Homemade rose water is real, it smells wonderful, and it has genuine mild benefits. Just don’t expect it to replace your dermatologist.
The Part Most People Skip
Labeling. Write the date on your bottle. Homemade rose water without a preservative lasts about 2-4 weeks in the fridge, and it’s surprisingly easy to forget when you made it. A piece of masking tape and a marker takes five seconds and saves you from applying something that’s quietly gone off.
Make a batch this weekend. It’s one of those small, satisfying things that feels far more impressive than the effort involved.