

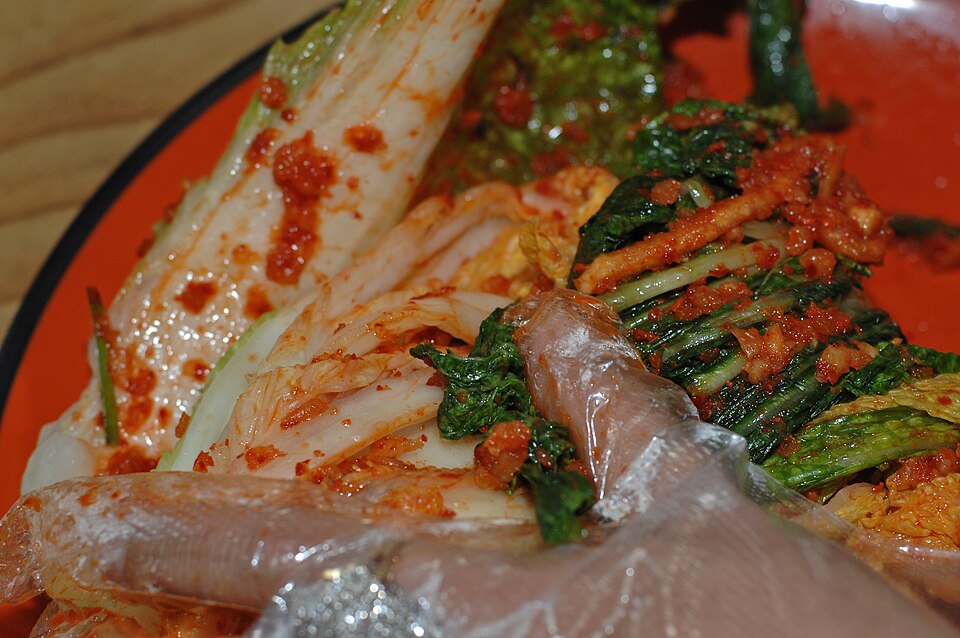
Kimchi looks more complicated to make than it is. The process has four stages: salting the cabbage, making the paste, combining everything, and waiting. Most of the time is passive. The actual hands-on work takes about 45 minutes, and you end up with a jar that keeps in the fridge for months and gets better as it ferments.
This is the beginner version: napa cabbage kimchi (baechu-kimchi), the most common variety, with a well-balanced paste that’s adaptable to your spice tolerance.
Key Takeaways
- Salting the cabbage is the most important step. It draws out moisture and starts the fermentation process. Don’t rush it — 1 to 2 hours minimum.
- Gochugaru (Korean red pepper flakes) is what gives kimchi its distinctive flavour. It’s not interchangeable with regular chilli flakes. You can find it at Asian grocery stores or online.
- Kimchi needs 1 to 5 days at room temperature to start fermenting before you refrigerate it. Taste it daily until it reaches the sourness you want.
- Homemade kimchi contains significantly more live bacteria than most supermarket varieties, which are often pasteurised.
What You Need
Makes: 1 large jar (approximately 1.5 litres)
Hands-on time: 45 minutes
Fermentation time: 1 to 5 days at room temperature
Ingredients
For the salting: 1 medium head of napa cabbage (about 1kg), 3 tablespoons fine sea salt (non-iodised).
For the paste: 4 tablespoons gochugaru, 4 garlic cloves (minced), 1-inch piece of fresh ginger (grated), 1 tablespoon fish sauce (or soy sauce for vegan), 1 teaspoon sugar or a small piece of Asian pear, 4 spring onions (cut into 2cm pieces). Optional: 1 large carrot and/or 1 daikon radish, both julienned.
The Method
Step 1: Salt the Cabbage (1 to 2 hours)
Cut the cabbage in half lengthwise, then into quarters. Cut each quarter crosswise into roughly 5cm pieces. Place in a large bowl, sprinkle the salt over, and toss well with your hands (wear gloves if you have sensitive skin). Let it sit for 1 to 2 hours, turning every 30 minutes. After this time, the cabbage should have wilted significantly and released a lot of liquid.
Rinse the cabbage under cold water 2 to 3 times. Taste it: it should be pleasantly salty but not overwhelming. Squeeze the cabbage firmly in small handfuls to remove as much water as possible, then set aside.
Step 2: Make the Paste
In a large bowl, combine gochugaru, minced garlic, grated ginger, fish sauce (or soy sauce), and sugar. Mix well. The paste will be thick and deeply red. Add the spring onions and any optional vegetables. Toss to combine.
Step 3: Combine
Add the squeezed cabbage to the paste. Using your hands (wear gloves), mix thoroughly. Massage the paste into each piece of cabbage so everything is evenly coated. Taste and adjust: more gochugaru for heat, more fish sauce for depth, more ginger for brightness.
Step 4: Pack and Ferment
Pack the kimchi tightly into a clean glass jar. Press it down firmly so the liquid rises to cover the cabbage. Leave 2 to 3cm of headspace at the top. Leave the jar at room temperature (18 to 22°C) for 1 to 5 days. Open it daily and press the kimchi down. Taste it daily: when it’s as sour and tangy as you like, move it to the fridge.
How to Know When It’s Ready
Freshly made kimchi is crunchy and mildly spicy. After 1 to 2 days, you’ll start to smell a light sourness and see tiny bubbles forming — fermentation is working. After 3 to 5 days, the flavour deepens and becomes more complex: sour, spicy, umami, with a slight fizz. This is when most people prefer to refrigerate it. Fermentation slows dramatically in the fridge but continues very slowly for weeks.
How to Use It
As a side dish: Serve 2 to 3 tablespoons alongside any rice-based meal.
In fried rice: Day-old kimchi fried in sesame oil with rice, egg, and vegetables is one of the best uses for slightly over-fermented kimchi.
In scrambled eggs: Add a tablespoon of chopped kimchi to eggs while cooking.
On avocado toast: Kimchi on sourdough with avocado and a fried egg is better than it sounds.
In noodle soups: Add a tablespoon or two to any broth-based noodle dish.
A Note on the Gut Health Benefits
The live bacteria in homemade kimchi (primarily Lactobacillus species) are what provide the gut health benefits. These are present in much smaller amounts, or absent entirely, in pasteurised commercial kimchi. Research consistently links kimchi consumption to increased gut microbiome diversity, particularly Lactobacillus abundance, which is associated with reduced intestinal inflammation.
The brine from the jar is itself worth keeping: it’s high in live bacteria and can be added to dressings, used as a pickling liquid, or drunk straight in small amounts.
Related Articles
- Fermented Foods for Gut Health: The Beginner’s Guide
- Gut Healing Recipes for Beginners
- Bone Broth Recipe from Scratch